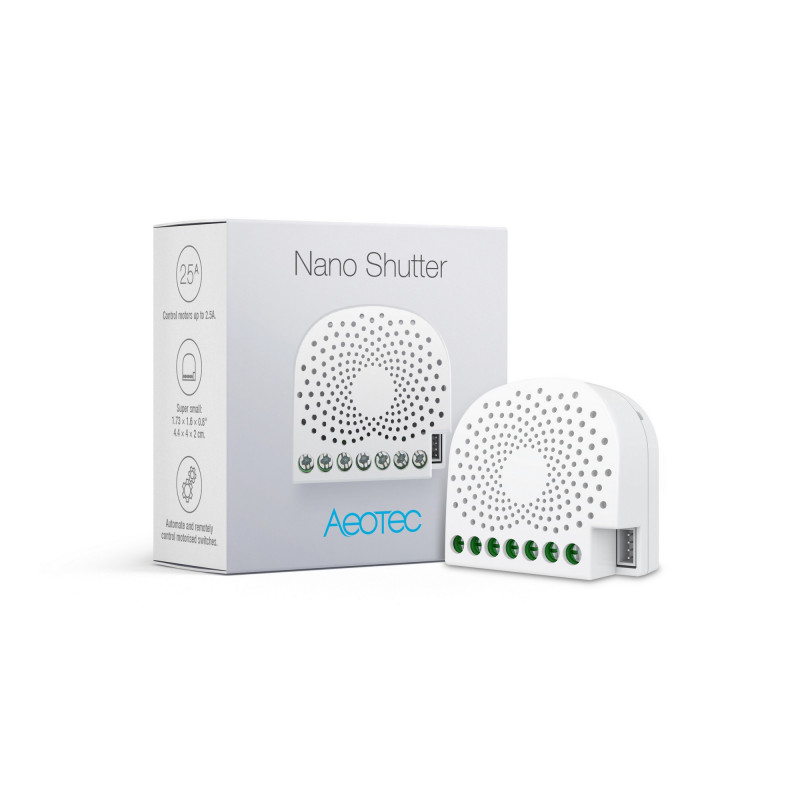


Nano Shutter, your home’s motor controls connected to Z-Wave.

|


Nano Shutter connects to your home’s existing motor controlled accessories. It does so simply, and it immediately makes those accessories available for control, automation and scheduling via Z-Wave.
It can be wired to connect directly to the motor itself. It can be wired to any existing wall switch that controls the motor. And it can be connected in seconds to WallSwipe, allowing you to further enhance Nano Shutter to have touch and gesture control.
Once installed, you can control Nano Shutter via any connected switch, and via Z-Wave through your gateway, remote control, and smartphone app.
Nano Shutter is crafted from the same 10 years’ experience that has been infused into Nano Dimmer and Nano Switch. Experience that includes the engineering of Z-Wave’s first motor and shutter controller; Micro Motor Controller.
Building upon that experience, Nano Shutter offers 3 new enhancements crucial to such technology.

For any motor that controls access points, such as gates and security shutters, Z-Wave S2 is crucial. S2 enhances Nano Shutter with next-generation anti-hacking features including AES-128 bit encryption and ECDH key exchange.

Complementing its best-in-class security is Nano Shutter’s Z-Wave Plus. The latest version of Z-Wave, it allows Nano Shutter to control connected accessories with a 250% faster response time and a 67% greater wireless range that’s up 150 metres / 492 feet wide.

Crafted to be simple to install, Nano Switch has also been crafted to be easier to install. At only 1.7” x 0.8”, it’s 60% smaller than Micro Motor Controller meaning that it’s even easier to install in behind motor switches.
FEATURES :
TECHNICAL SPECIFICATIONS :
Data sheet
Votre Nano Shutter peut être retiré de votre réseau Z-Wave à tout moment. Vous devrez utiliser le contrôleur principal de votre réseau Z-Wave. Pour mettre votre contrôleur/passerelle Z-Wave en mode exclusion, veuillez vous reporter à la section correspondante dans le manuel d'utilisation de votre contrôleur.
1. Mettez votre contrôleur Z-Wave en mode exclusion.
2. Appuyez 6 fois sur le bouton d'action du Nano Shutter en moins de 2 secondes.
3. Si le Nano Shutter a été retiré de votre réseau Z-Wave, sa LED RGB restera en couleur dégradée. Si la suppression a échoué, le voyant RGB reste toujours allumé (en fonction de l'état de la charge de sortie), répétez les instructions ci-dessus à partir de l'étape 1.
Une fois que votre Nano Shutter est installé et allumé, vous pouvez le contrôler manuellement afin d’ouvrir et fermer votre moteur connecté directement en appuyant sur le bouton d’action du Nano Shutter. Il est maintenant temps d'ajouter votre Nano Shutter au réseau Z-Wave. Pour régler votre passerelle/contrôleur Z-Wave en mode inclusion, veuillez vous reporter à la section correspondante dans le manuel d'instructions de votre contrôleur.
1. Mettez votre contrôleur Z-Wave en mode inclusion.
2. Appuyez une fois sur le bouton d'action sur le Nano Shutter ou actionnez l'interrupteur manuel externe une fois. Le voyant vert (indication non sécurisée) clignotera pour indiquer que le Nano Shutter passe en mode inclusion.
3. Si le Nano Shutter a été ajouté avec succès à votre réseau Z-Wave, son voyant RGB reste allumé. Si l'inclusion a échoué, le voyant rouge reste allumé pendant 2 secondes, puis reste en dégradé de couleur. Répétez les instructions ci-dessus à partir de l'étape 1.
You might also like