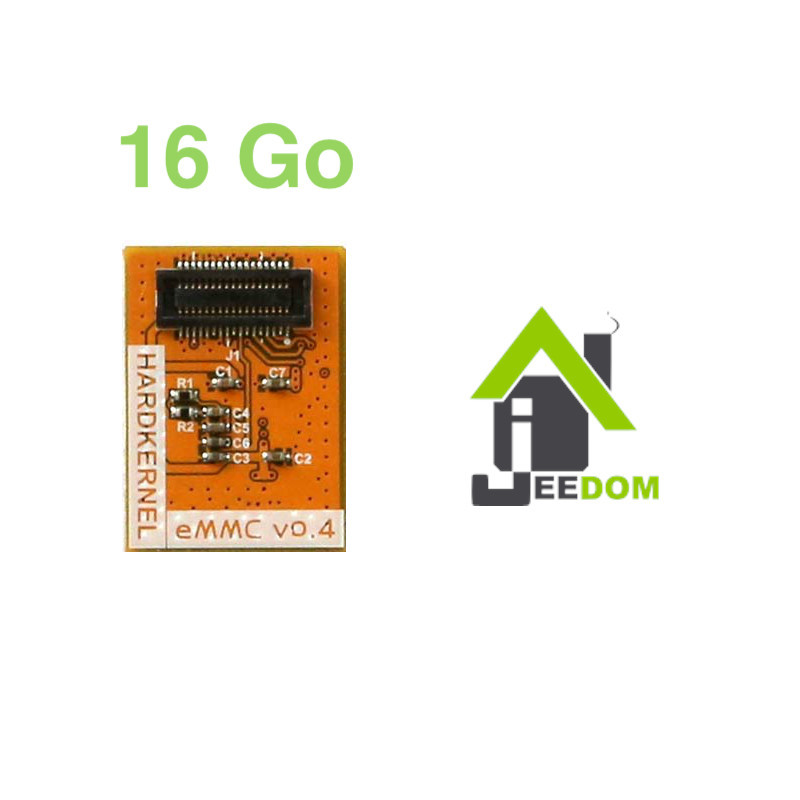


JEEDOM - Replacement 16Gb eMMC Module for Jeedom Smart

Security guarantees

Shipping Policy
JEEDOM - Replacement 16Gb eMMC Module for Jeedom Smart
First of all, it is essential to perform a backup of Jeedom which can be restored at the end of the procedure.
Go to the Jeedom interface then click on the menu Settings > System > Backups.
Click on the Start a backup button.
When the backup is complete, click on Download the backup.
Once the Jeedom backup is downloaded, shut down the system via the menu Settings > System > Shutdown.
Disconnect all external devices connected to the Smart (power supply, ethernet, USB, screen...) and unscrew the antenna from the internal controller.
Unscrew the 2 screws on the front (black plexi marked jeedom) of the box:

Slide the motherboard towards the back:
/

5. Unclip the eMMC storage located under the motherboard:
6. Clip the new eMMC storage under the Smart's motherboard.

Insert the motherboard from the back of the box.
Replace the black plexi marked Jeedom at the front and screw back the 2 screws.

On the first boot, the file system is resized to take up all available space before the box automatically restarts. This step can take up to 2 minutes.
Since the system has been reinstalled, the first access to the Jeedom interface should be done using the credentials admin/admin.
Go to the menu Settings > System > Backups.
Click on Add a backup and select the previously made backup.
Click on Restore the backup.
It is necessary to change the port of the internal controller which is no longer /dev/ttyS1 but /dev/ttyAML1 on this new system.
The procedure in video: