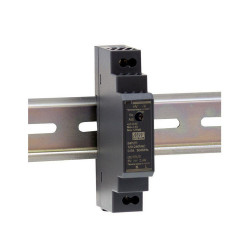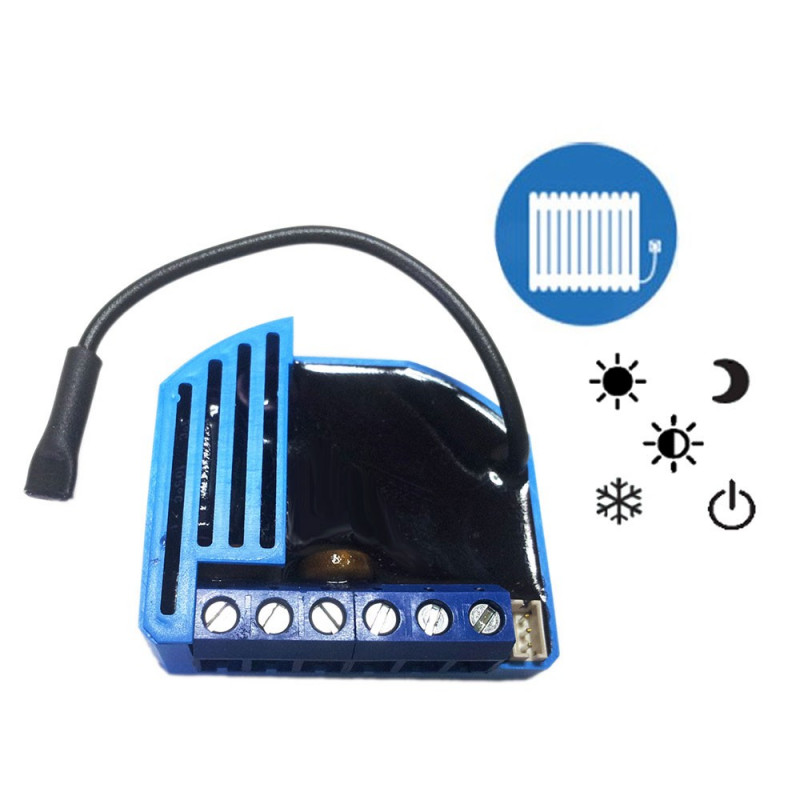


QUBINO - Z-Wave Flush module Pilot Wire ZMNHJD1

|
QUBINO - Z-Wave Flush module Pilot Wire ZMNHJD1
Data sheet


Frederic P. published the 28/03/2023 following an order made on 01/02/2023
Très bien, conforme à mes attentes, je recommande !
Jérôme H. published the 06/12/2022 following an order made on 24/11/2022
Produit très satisfaisant (et prix attractif), aucun souci pour l'intégrer à mon réseau sur Raspberry. Paramétrage dans Jeedom réalisé sans trop de difficulté (plugin thermostat).
Guillaume B. published the 05/12/2022 following an order made on 27/11/2022
Ça paraît compliqué au début, mais finalement, il n’y a que trois fils à insérer dans le module Qubino. C’est tout à fait faisable par un débutant.
Anonymous customer published the 15/10/2022 following an order made on 23/09/2022
Très bon produit terriblement efficace, le mode relai entre module m'a bien servi. j'enlève quand même une étoile pour le prix qui me semble un peu cher par rapport au cout de fabrication !
Eric L. published the 08/03/2022 following an order made on 01/03/2022
Fonctionne parfaitement
Anonymous customer published the 11/12/2020 following an order made on 20/11/2020
Bon produit
Anonymous customer published the 27/11/2020 following an order made on 22/10/2020
Parfait même si c'est un peu cher
Anonymous customer published the 06/11/2020 following an order made on 21/10/2020
Pas encore installé
Anonymous customer published the 18/01/2020 following an order made on 13/12/2019
Aucun problème
Inclusion automatique de l'appareil à un réseau Z-Wave :
Inclusion manuelle de l'appareil à un réseau Z-Wave :
1. Activer le mode inclusion sur votre passerelle Z-Wave
2. Connectez l'appareil à l'alimentation électrique (en cas d'utilisation avec la sonde de température veuillez la connecter)
3. Basculez l'interrupteur connecté à la borne I1 3 fois dans les 5 secondes (l'appareil doit recevoir le signal marche / arrêt 3 fois, c'est-à-dire appuyer 3 fois sur le bouton poussoir ou faire avec le bouton normal marche / arrêt / marche / arrêt / marche / arrêt )
QUBINO - Z-Wave Flush module Pilot Wire ZMNHJD1