- On sale!
- -25%


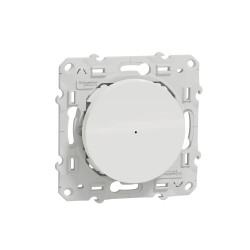
Single Color Push Button Z-wave Secondary Controller Light Switch SR-ZV9001K4-DIM-G2.

Security guarantees

Shipping Policy


The SR-ZV9001K4-DIM-G2 is a new single color wall mounted push button Z-Wave secondary controller dimmer switch which adopts latest z-wave RF Plus and Mesh network technology to switch and dim single color LED lighting. It is an universal z-wave slave and can be added to z-wave network or removed from z-wave network by z-wave primary (master) controllers or gateway.
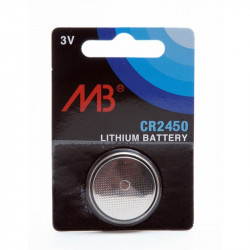
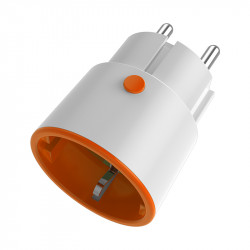
The wall controller is powered by a cell lithium battery. The wireless controller is compatible with single color z wave receiver SR-ZV9101FA-DIM and different frequencies are available for different countries or areas. The signal transmit distance can be up to 30m.
It supports 3 groups for associations, a lifeline group association to primary (master) controller and 2 groups association to devices, the groups association to devices supports maximum 5 Z-wave devices per group. Compatible with existing frames from Berker, Gira, Jung and Merten, the z-wave secondary controller is easy to be mounted on the wall.
FEATURES :
TECHNICAL SPECIFICATIONS :
Data sheet


Press and hold both group 2 buttons (top buttons) together for more than 10 seconds, the LED light will turn on then flash 4 times quickly to indicate factory reset successful.
1. Put your main controller/gateway into exclusion mode (please refer to your main controller's manual on how to put it into exclusion).
2. Press and hold both group 2 buttons (top buttons) for 3 seconds, the LED light will turn on. The scene controller will be in exclusion mode, and waiting to be excluded, after 7 seconds the LED indicator will flash 4 times quickly to indicate successful exclusion.
Step 1. Make sure the scene controller does not belong to any Z-Wave network. Short press any button, if the LED indicator does not light up, the scene controller does not belong to any network, you can continue step 2. If the LED indicator lights up, it means that the scene controller has already been included in a network, please exclude the scene controller first, then continue with step 2.
Step 2. Put the main controller/gateway into inclusion mode (please refer to your main controller's manual on how to put it into inclusion mode).
Step 3. Press and hold both group 2 buttons (top buttons) for 3 seconds. The LED light will turn on, the scene controller will be in inclusion mode and waiting to be included. After 10 seconds, the LED indicator flashes 6 times quickly to indicate successful inclusion.
The scene controller is a sleeping device. After inclusion, it will not enter sleep mode immediately, and will remain in wake-up state for 30 seconds and wait for data interaction with the gateway. The LED light will stay on, please be patient to wait for the LED light to turn off.
You might also like
Single Color Push Button Z-wave Secondary Controller Light Switch SR-ZV9001K4-DIM-G2.