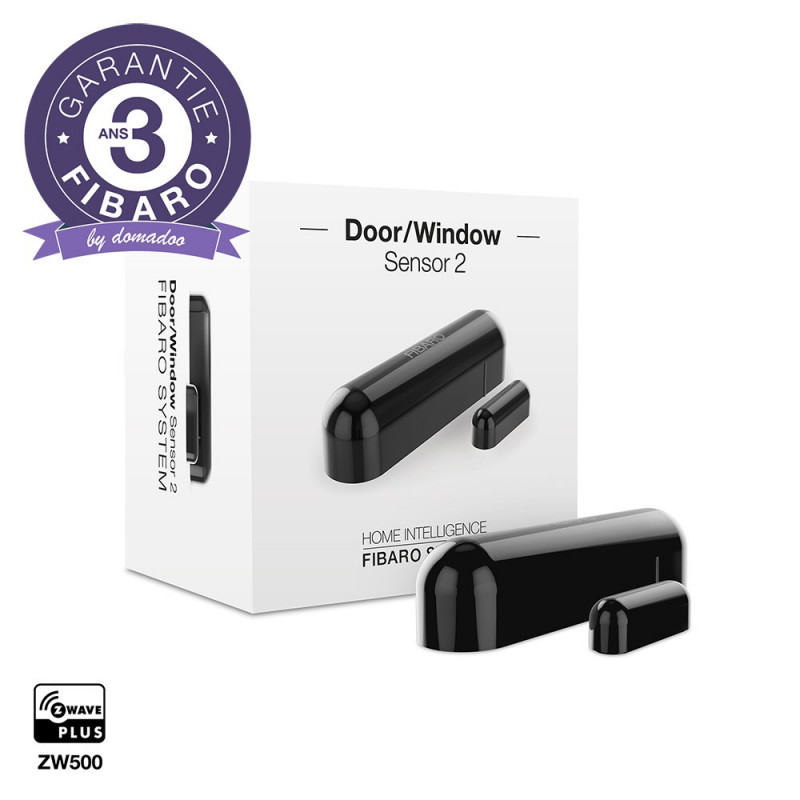


FIBARO Door/Window Sensor 2 is a wireless, battery powered, Z-Wave Plus compatible magnetic contact sensor. Black model.

Security guarantees

Shipping Policy
FIBARO Door/Window Sensor 2 is a wireless, battery powered, Z-Wave Plus compatible magnetic contact sensor. Opening is detected by separating the sensor’s body and the magnet. Sensor can be used to trigger scenes and wherever there is a need for information about opening or closing of doors, windows, garage doors, etc. In addition, the FIBARO Door/Window Sensor 2 is equipped with a built-in temperature sensor.
Do you often forget to turn off the heating while airing out the apartment in the winter? Door/Window Sensor integrated with the thermostat will do it for you! Heating will be automatically turned on again, after the window is closed. You do not have to worry about higher electricity bills and unnecessary loss of energy. What is more, you take care of the environment.
FEATURES :
TECHNICAL DATAS :
Data sheet
Anonymous customer published the 30/12/2020 following an order made on 04/12/2020
Produit de qualoité.
Le Door/Window Sensor 2 doit être réveillé pour recevoir des informations sur la nouvelle configuration du contrôleur, telles que des paramètres et des associations.
Pour réveiller le capteur manuellement, cliquez sur l'un des boutons TMP (pendant que l'autre bouton est enfoncé).
Réinitialiser le Fibaro Door/Window Sensor 2 n'est pas la méthode recommandée pour l'exclure du réseau Z-Wave. Utilisez la procédure de réinitialisation uniquement si le contrôleur principal est manquant ou inutilisable.
L'ouverture du boîtier peut déclencher une alarme. Pour l'éviter, supprimez les associations du 3ème groupe.
Réinitialisation du capteur de porte / fenêtre 2:
1. Ouvrez le couvercle.
2. Retirez la batterie.
3. Installez la batterie en tenant les deux boutons TMP.
4. Le voyant visuel clignotera lentement pendant 5 secondes - maintenez les boutons enfoncés.
5. Relâchez un bouton lorsque le voyant commence à clignoter rapidement.
6. Cliquez une fois sur le bouton relâché pour confirmer le lancement de la procédure de réinitialisation.
7. Attendez quelques secondes que le voyant clignote longuement. Ne retirez pas la batterie.
8. Le voyant visuel clignotera 5 fois rapidement pour confirmer la réinitialisation.
L'exclusion du Fibaro Door/Window Sensor 2 du réseau Z-Wave restaure tous les paramètres par défaut du périphérique.
Pour supprimer le périphérique du réseau Z-Wave:
1. Placez le Door/Window Sensor 2 en portée directe de votre contrôleur Z-Wave.
2. Mettez le contrôleur Z-Wave en mode exclusion (voir le manuel du contrôleur).
3. Appuyez rapidement trois fois sur l’une des touches TMP (pendant que l’autre touche est enfoncée).
4. Attendez la fin du processus de suppression.
5. L'exclusion réussie sera confirmée par un message du contrôleur Z-Wave.
1. Placez le Door/Window Sensor 2 en portée directe de votre contrôleur Z-Wave.
2. Mettez le contrôleur Z-Wave en mode inclusion (mode sécurisé / non sécurisé) (voir le manuel du contrôleur).
3. Appuyez rapidement trois fois sur l’une des touches TMP (pendant que l’autre touche est enfoncée).
4. Attendez la fin du processus d'inclusion.
5. L’inclusion réussie sera confirmée par un message du contrôleur Z-Wave.
En cas de problème lors de l'inclusion de l'appareil, réinitialisez l'appareil et répétez la procédure d'inclusion.
You might also like